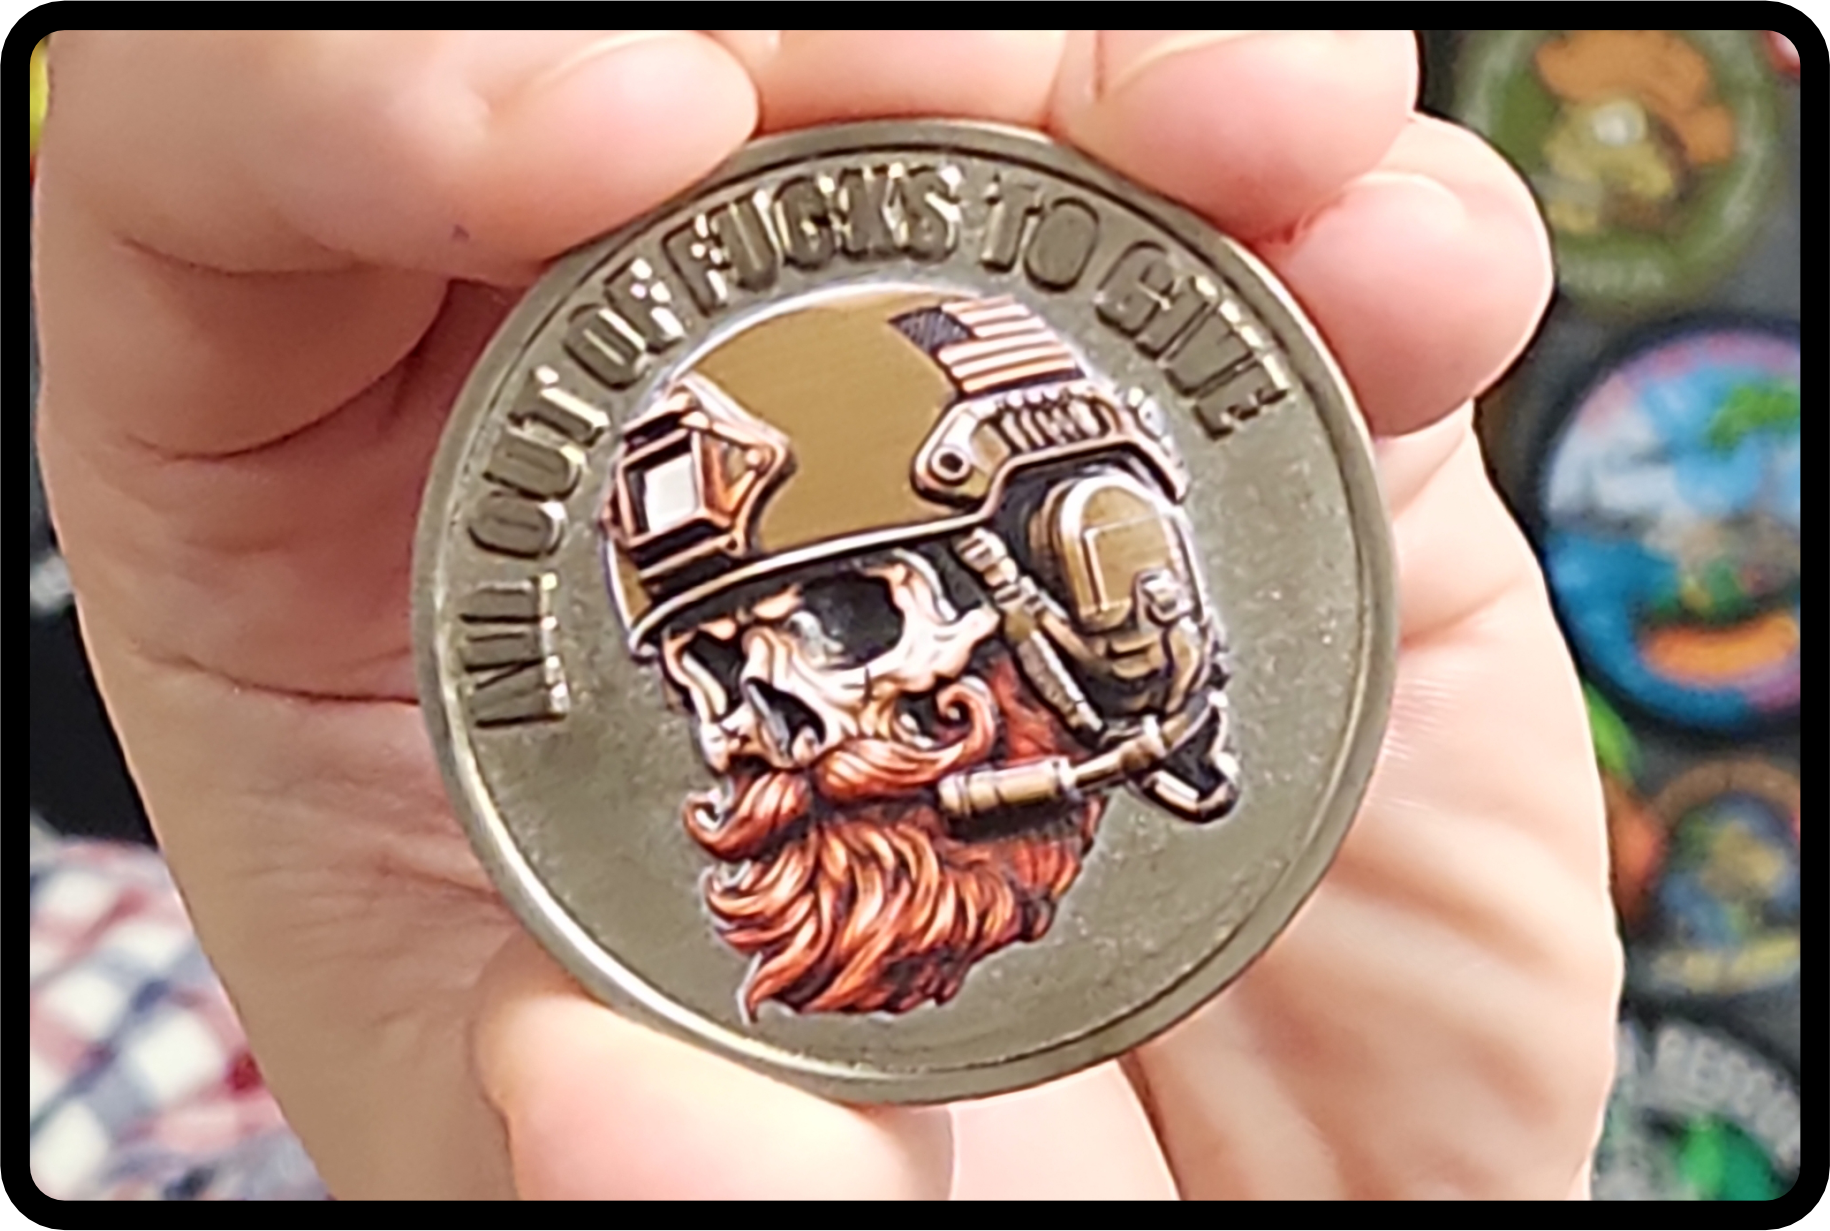
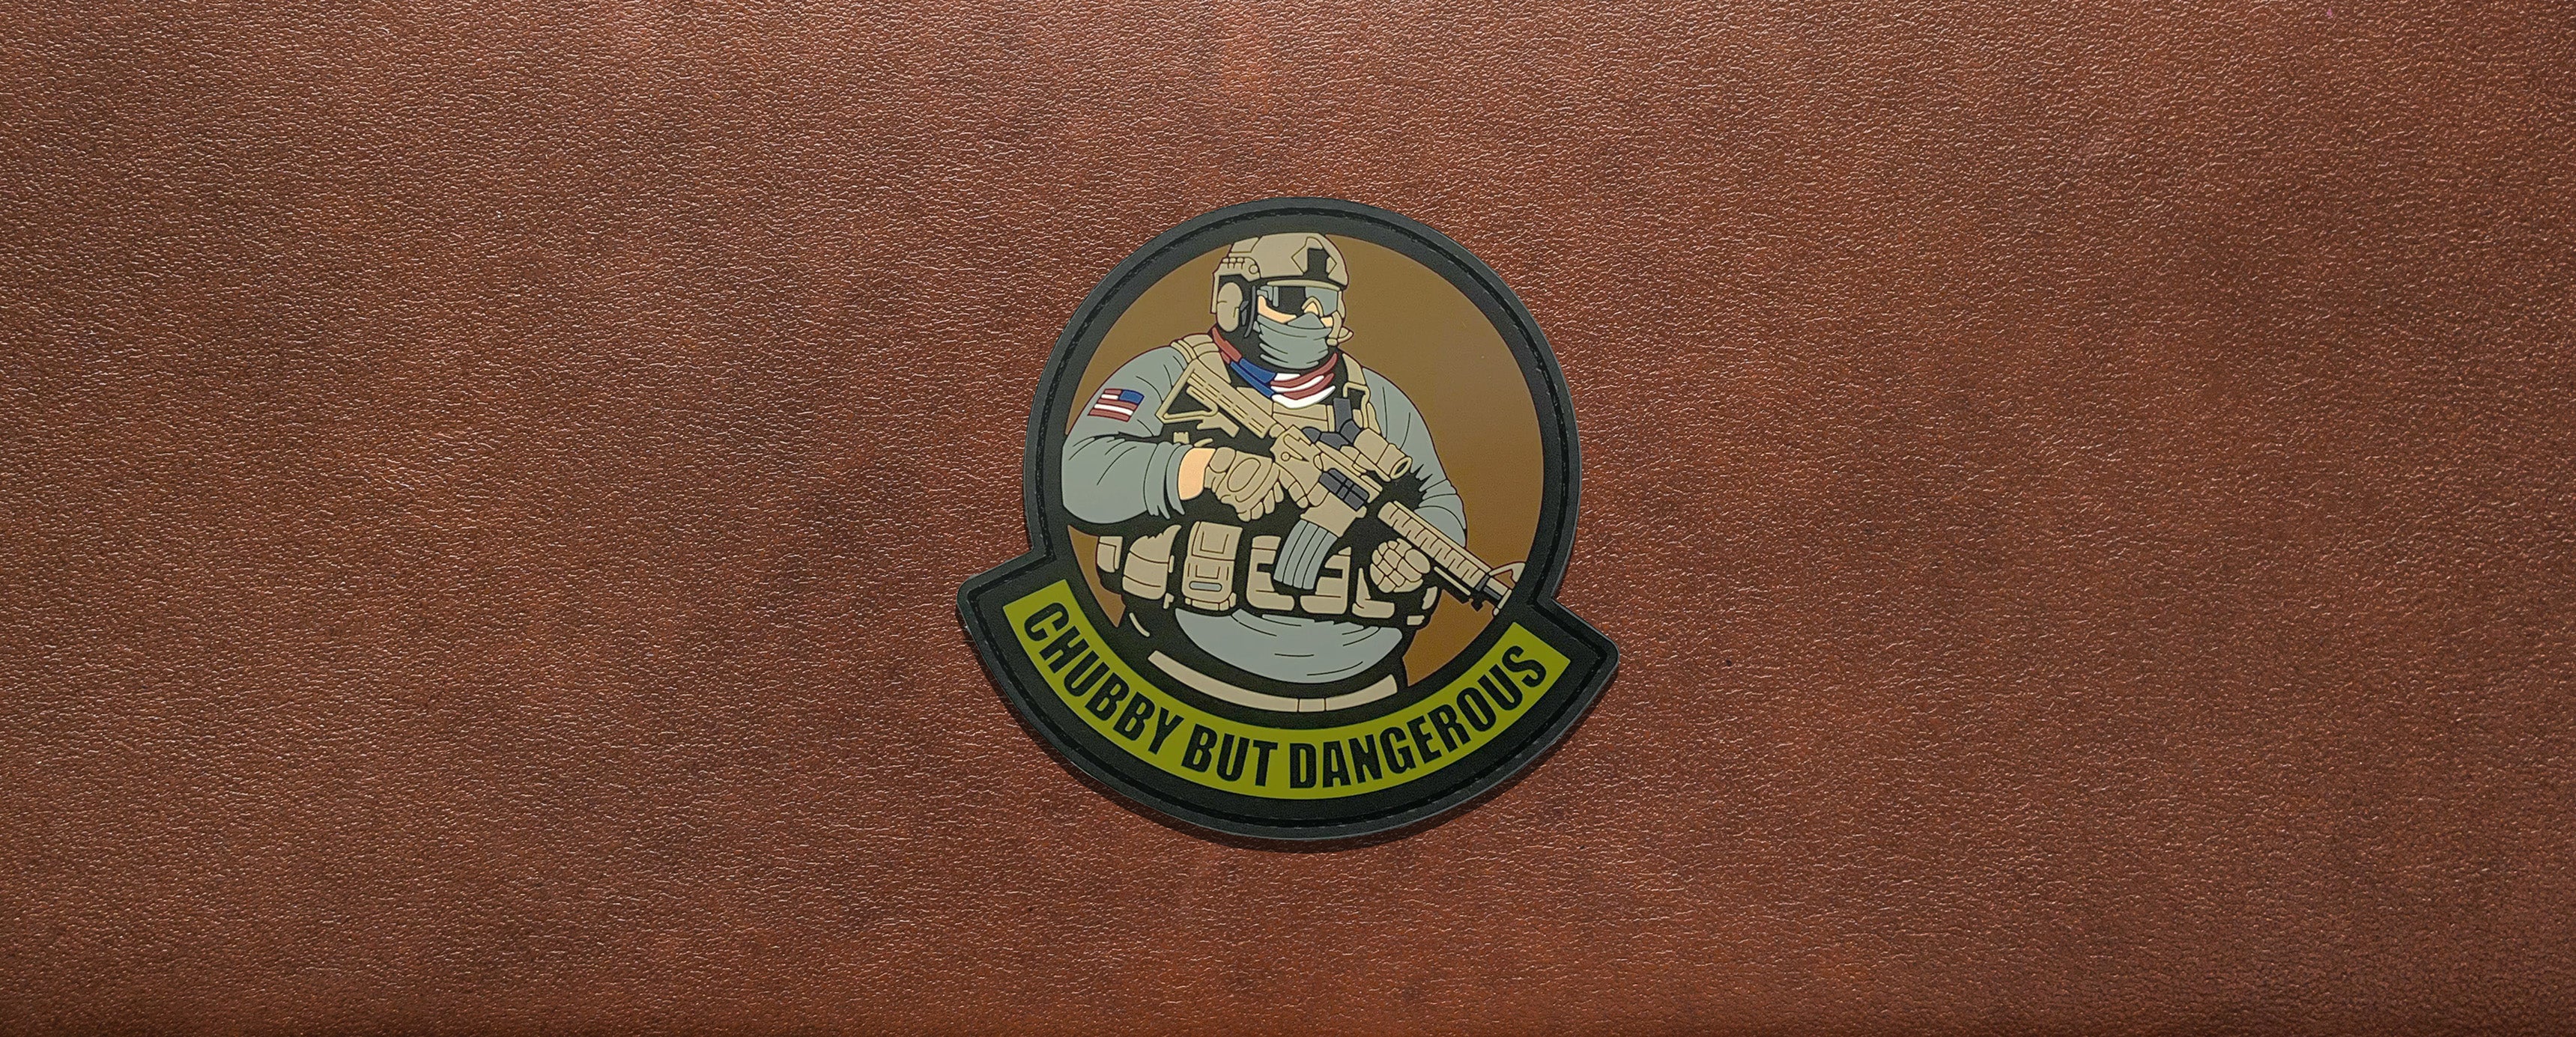
There’s something about a leather jacket, vest, or bag with patches that just feels right. Whether you’re reppin' your favorite band, displaying the American Flag, or just adding some personality, patches make your gear yours.
But if you want them to stick around for the long haul, you’ve got to know how to do it right. Here’s how to add patches to leather so they stay put and look great.
Sewing a Patch on Leather: The Best Way to Get It Done
When it comes to adding custom patches to leather, sewing is your best bet. This method ensures your patches won’t budge and won’t mess up your leather. While it might seem tricky at first, once you get the hang of it, you’ll be a pro.
Hand Sewing Patches on Leather
Hand sewing might seem old-fashioned, but it’s a solid way to attach patches to leather, and there’s something satisfying about doing it yourself.
Here’s how you can get started with sew on patches:
- Pick the Right Needle: Leather is tough stuff, so you need a needle that can handle it. A Glover needle uses a triangular tip that slices through leather like butter. Just be careful if your patch is embroidered—this needle can be a bit too tough and might mess up those delicate stitches.
If that’s the case, you might want to sew the patch onto a softer material, like a thin piece of leather, and then attach that to your jacket.
- Prep Your Gear: Lay your sew on patch where you want it and secure it with a loop of tape on the back. No glue, though—that’s a mess waiting to happen. Once everything’s in place, thread your needle with strong polyester thread, tie a knot at the end, and get ready to sew.
- Start Stitching: Begin from the inside of your jacket so the knot is hidden. Use a backstitch for extra durability, making sure each stitch is tight and even. If you hit a tough spot, you can use pliers to pull the needle through. Or, if you want to make things a bit easier, grab a leather punch tool to pre-pierce your stitching holes.
Machine Sewing Patches on Leather
If you want to get the job done faster, a sewing machine can make a world of difference. Machine sewing gives you a clean, professional look in a fraction of the time.
- Set Up Your Machine: Make sure you’re using a leather needle and 100% polyester thread. This combo will glide through the leather with ease.
- Secure the Patch: Tape or pin your patch in place, ensuring it’s exactly where you want it. Once you start sewing, there’s no going back without leaving a mark.
- Sewing Time: Slowly feed the leather under the needle, keeping your stitches close to the patch's edge. Take your time around corners or curves—leather isn’t as forgiving as fabric.
Once you’re done, overlap your starting stitches to lock everything in place.
Aftercare for Leather with Patches
Now that your custom patches are on, you want to ensure your leather gear stays in top shape. Proper care will keep your leather and patches looking sharp for years.
Cleaning your leather with patches is simple—just wipe it down with a damp cloth. Be careful not to soak the leather, as too much moisture can weaken the material and affect the patches.
Apply a leather conditioner to keep the material soft and flexible every so often, but avoid getting the conditioner directly on the patches.
For storage, keep your leather items in a cool, dry place away from direct sunlight. This prevents fading and cracking. Hanging jackets on padded hangers will help them maintain their shape and avoid creases.
Removing a Patch from Leather
If you need to remove patches from leather—maybe you’re ready for a new look, or the patch has worn out—it’s important to do it carefully to avoid damaging the leather.
For sewn on patches, use a seam ripper to cut the stitches carefully. Avoid pulling on the patch, as this can tear the leather. If there’s any leftover thread or residue, gently remove it with a soft cloth.
If you’re dealing with iron on patches (though it’s generally not recommended for leather), use a hairdryer to warm up the adhesive instead of applying direct heat. This method is gentler on the leather and reduces the risk of damage.
Once the adhesive softens, carefully peel the patch away. Use a leather-safe adhesive remover and follow up with a conditioner to remove glue residue from leather and restore its texture.
How To Fix Torn Leather
Sometimes, things don’t go as planned when adding or removing a patch, and you might end up with a tear in your leather. Don’t worry—while it’s frustrating, it’s not the end of the world.
Here’s how to fix torn leather and make your gear look like new again:
- Small Tears: A leather repair kit works wonders for small tears. Clean the area, apply adhesive to the tear’s edges, and press them together. Use the kit’s tools to smooth the surface and let it dry.
- Larger Tears: For bigger tears, consider covering the area with a new patch. This hides the damage and reinforces the leather to prevent further tearing.
- When in Doubt: If the tear is extensive or you’re unsure, it’s a good idea to consult a professional for a more secure repair.
Get Your Custom Patches from Tactical Gear Junkie
With a little care, your leather gear will look even better with time, and those patches will tell your story wherever you go.
And if you’re looking for top-notch custom patches that stand out and last, check out Tactical Gear Junkie. Whether you need patches for your leather jacket, vest, or bag, Tactical Gear Junkie has you covered.
Make that jacket yours, and wear it with pride!


