Patches are a popular way to customize clothing and gear, adding a personal touch or representing affiliations. But there may come a time when you need to remove a patch and swap it out with something new. And there’s more to it than just ripping it off!
Whether it's a sewn-on patch or an iron on patch, the process requires careful handling to avoid damaging your clothing or the patch itself.
In this guide, we will walk you through the steps to effectively remove two types of patch backings — sewn on and iron on — and tips on how to reuse patches and remove patch marks.`
Jump to a section in this article:
Steps On How to Remove a Sewn-On Patch
Removing a sewn on patch requires a steady hand and the right tools. By carefully cutting the stitches and removing any residual threads, you can effectively remove the patch without damaging the underlying fabric.
Follow the steps below to ensure a clean removal process.
Tools Needed:
- Seam ripper or small, sharp scissors
- Tweezers
- Fabric glue (optional)
- Needle and thread (optional)
Instructions:
- Identify the Stitching: Turn the garment inside out to locate the stitching securing the patch.
- Carefully Cut the Stitches: Use a seam ripper or small, sharp scissors to cut the stitches. Start at one corner and work your way around the patch. Be gentle to avoid damaging the fabric.
- Remove Loose Threads: Use tweezers to remove any remaining threads from the fabric and the patch once the stitches are cut.
- Clean the Area: Check for any residual adhesive or threads. If necessary, use fabric glue or a needle and thread to repair any minor damage to the fabric.
How to Remove an Iron On Patch
Removing an iron on patch can be a bit easier than a sew on, but you should still make sure that you follow the proper steps and use the right tools to avoid damaging the patch itself and your gear.
Here’s what you’ll need.
Tools Needed:
- Iron
- Thin cloth or wax paper
- Tweezers
- Adhesive remover (optional)
- Hairdryer (alternative method)
Instructions:
- Heat the Iron: Set your iron to a medium-high setting. Ensure there is no water in the iron to avoid steam.
- Protect the Fabric: Place a thin cloth or wax paper over the patch to protect the fabric.
- Apply Heat: Press the iron over the patch for 15-20 seconds. Check to see if the adhesive has softened.
- Peel Off the Patch: Usto lift the edge of the patch gently the patch. If it doesn’t come off easily, reapply heat.
- Remove Residual Adhesive: If any adhesive remains, apply a fabric-safe adhesive remover and gently rub it with a cloth.
Alternative Method - Hairdryer:
- Heat with Hairdryer: Set the hairdryer to the hottest setting and hold it 4 inches away from the patch.
- Apply Heat: Heat the patch for 30-40 seconds and check if the adhesive is melting.
- Remove the Patch: Use tweezers to peel off the patch. Repeat if necessary.
Tips On How To Remove Patches From Clothing:
Whether you’re learning how to remove an embroidered patch or how to remove an iron on patch, here are some tips to consider to make the process easier:
- Take your time to avoid cutting the fabric.
- Use a magnifying glass if the stitches are particularly small.
- Use a bit of fabric softener to loosen stubborn stitches.
Can You Reuse a Patch?
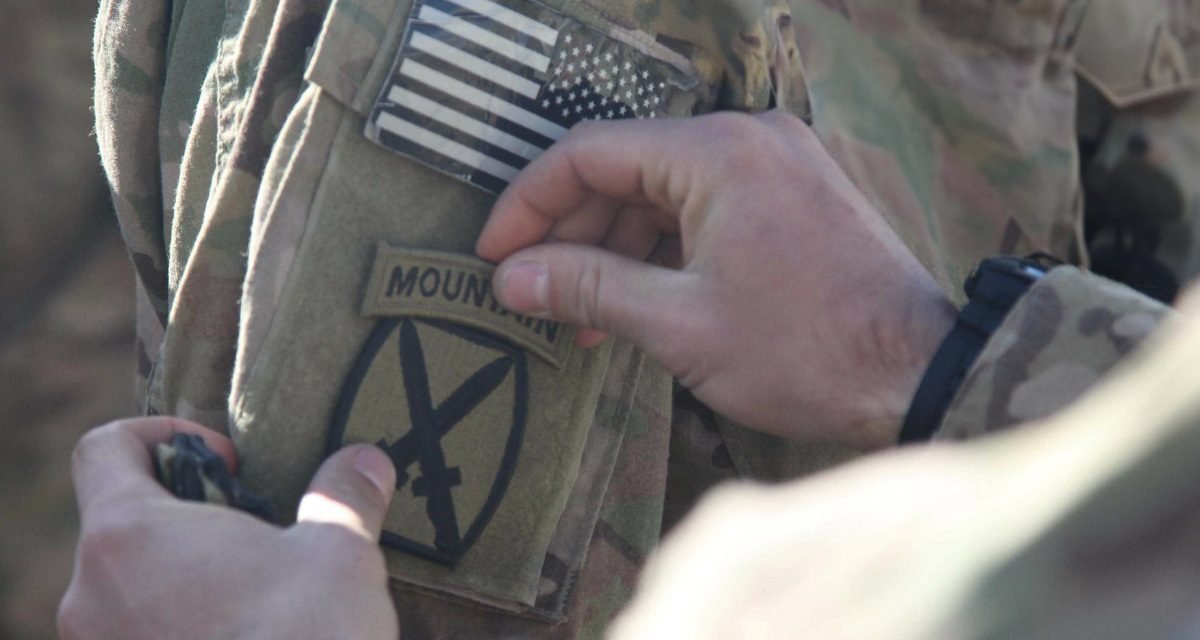
Alright, you know how to remove a patch. Now what? Chances are, these patches mean something to you, especially if it's a military patch (or your favorite funny patch), so there’s no sense in throwing them out. But can you reuse a patch you’ve just taken off your gear?
It turns out, yes, you can reuse a patch if it’s removed carefully. To increase the chances of reusing the patch:
- Use a gentle method to avoid fraying or damaging the patch.
- Ensure any adhesive residue is fully removed from the patch.
- If the patch is sewn on, trim any loose threads.
Tips for Reusing Patches:
- Iron On Patches: Once removed, you can apply a new layer of heat-activated adhesive before reapplying.
- Sewn On Patches: After removal, clean the edges and re-sew using fresh thread.
How to Remove Patch Marks
After successfully removing a patch, you may find unsightly marks or residue left behind on the fabric. These can include adhesive remnants, stitch holes, or impressions from where the patch was placed. Removing these marks is essential to keeping a patch’s clean appearance and prepping it for future customization.
There’s no need to stress; the following steps will guide you through quickly cleaning and restoring the fabric to its original condition.
Tools Needed:
- Adhesive remover
- Soft cloth
- Iron
- Fabric glue (optional)
- Needle and thread (optional)
Instructions:
- Remove Residual Adhesive: Use a fabric-safe adhesive remover to clean any glue residue. Apply with a soft cloth and rub gently.
- Smooth the Fabric: Place a thin cloth over the area and press with a warm iron to smooth out any wrinkles or impressions.
- Repair Minor Damage: Use fabric glue or a needle and thread to fix any small holes or tears.
Recommendations:
- Test the adhesive remover on a small, hidden area first to ensure it doesn’t damage the fabric.
- For stubborn marks, consider professional cleaning.
As long as you follow all of these steps and recommendations, you can effectively remove embroidered patches from your clothing and gear, preserving both the fabric and the patch for future use.
Whether you're updating your style or repurposing your gear, these techniques will help you achieve a clean, sleek look!
Out With the Old, In With the New
So, now that you know how to remove patches from clothing, why not add some new ones to your collection with Tactical Gear Junkie?
Shop from our large collection of patches today and give your uniforms and gear a new look!


